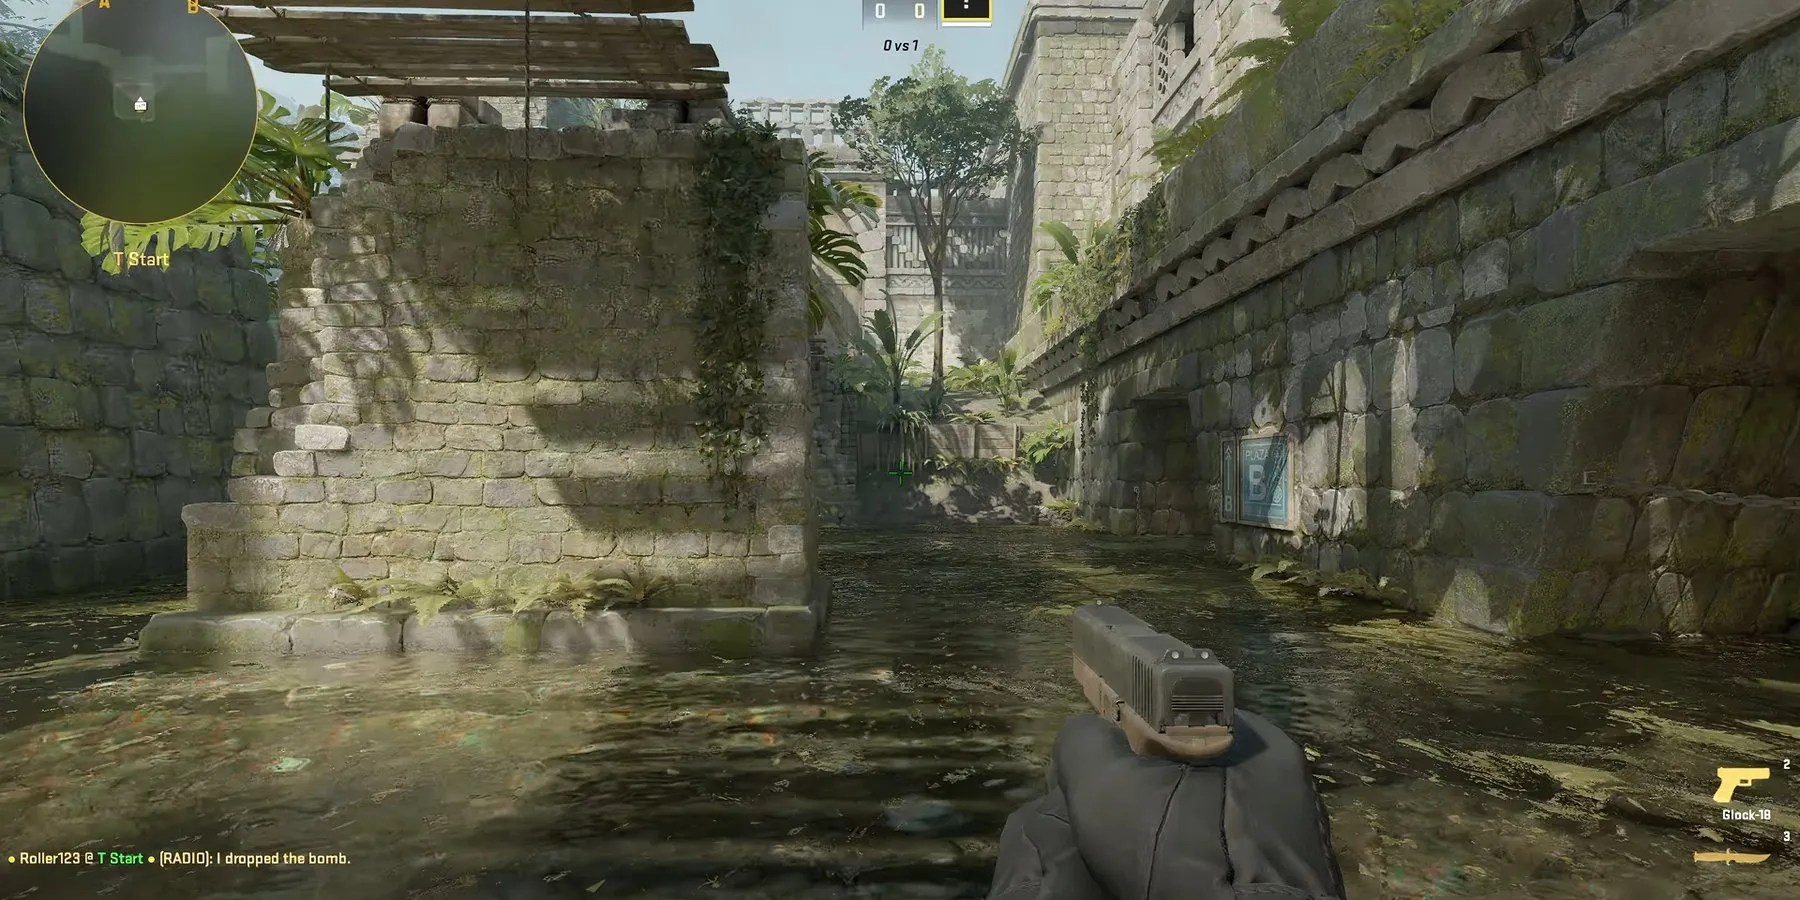
InCounter Strike 2, private matches against friends are a great way toimprove one’s skill. In 1v1 matches, players can recreate scenarios they usually encounter in ranked games. However, unlike other popular shooters, hosting a 1v1 match isn’t officially supported inCS2yet.
With that being said, interested players can still use an unofficial method to create private matches in the legendary competitive shooter. The method involves changing a few router settings to open a specific network port, allowing your friend to jump into a 1v1 game. The following guide details step-by-step instructions on both – changing the necessary router settings, and hosting a 1v1 match inCS2.

Challenges Involved In Setting Up 1v1 Match In CS2
One of the biggest challenges involved in setting up a 1v1 match inCS2is to learn how toPort Forward. Port forwarding is a technique that allows external users (friend) to access services or games (CS2) running on a private network, typically done on a router. It’s worth noting that some routers may not have the ability to port forward, which can lock certain players out from using this unofficial method.
How To Port Forward?
Modifying router setting can seem daunting to players who don’t have prior experience delving into it. Fortunately, this guide provides detailed and steps-by-step instructions on logging into the router and forwarding the necessary port:
How To Create 1v1 Matches in CS2?
With the router settings modified, the next step in the process involves creating a 1v1 match. The following steps should help players host a 1v1 match inCS2:
The next step involves inviting a friend to join the server, which is covered in the next section.

How To Get A Friend To Join The Server?
If players have carefully followed every step so far, they can proceed to finding their public IP address by visiting a website likeipchicken.com. This website displays the user’s public IP address, which players can share with a friend who they want to 1v1 against.
To join the 1v1 lobby, the player’s friend mustopen the developer console by hitting the tilde (`) key, and proceed to type “Connect” and followed by theplayer’s public IP address. For reference, the command should look something like this: connect 71.222.XX.XXX.

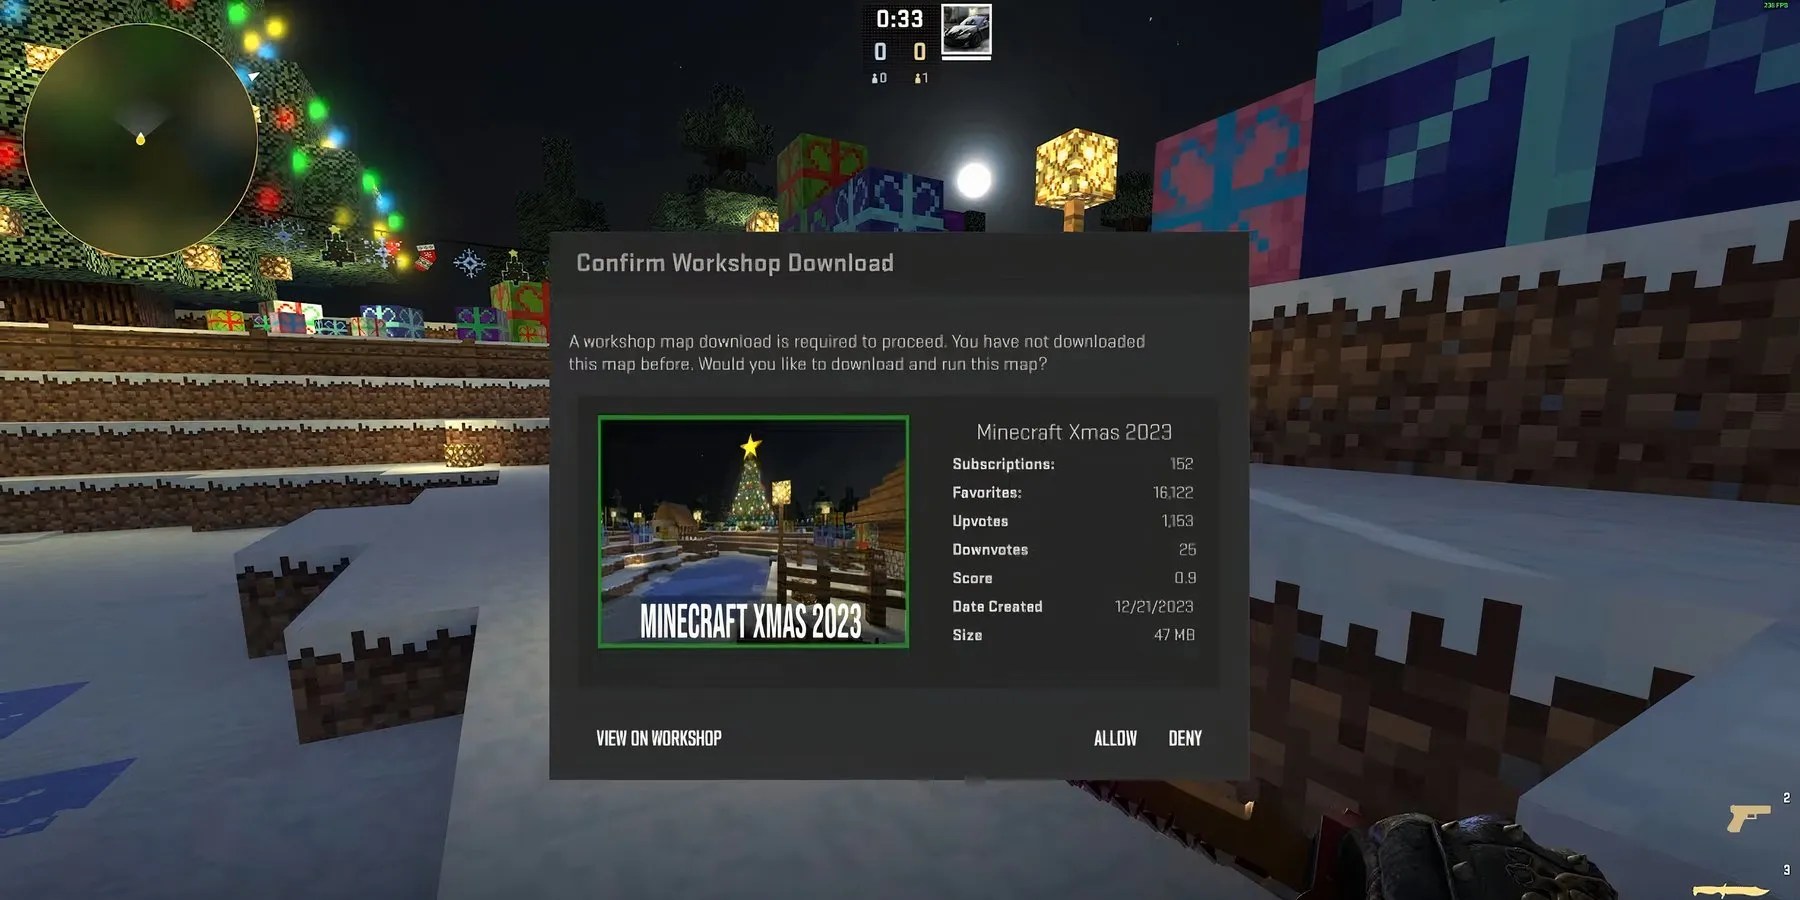
If everything was set up correctly on the player’s end, their friend should see a splash screen asking them to download the Workshop Map, following which, they can join the 1v1 lobby. If the friend is greeted with the “Unable to establish a connection with the game server” splash screen, then something likely went wrong with the port forwarding settings, and players will have to double check them.
Finally, it’s important to only share the public IP address with a trustworthy user. In the wrong hands, public IP addresses can also be used for malicious purposes.

